
I have a small confession to make. It seems that even the most modest of DIY successes turns me into a bragging ninny. Oh yeah. Since finishing my new dining table I've been engaging in an utterly shameful display of self-congratulatory boasting to an embarrassing and irritating degree. To all those who've heard me speak of little else alllllll week: my sincere apologies as well as my sympathies go out to you. Call it DIY-Success-Euphoria or call it a residual high from spending all weekend in a garage filled with toxic fumes. Whatever you wanna call it, it feels pretty damned sweet.
This is probably the quickest DIY project I have ever completed, at least in terms of turnaround time. In terms of actual physical labor it was about 12 hours spread over the weekend. Usually I let an idea for a project sit and stew for months before making any attempts towards actually starting. This time I think the excitement of "The Find" propelled me through my usual tendency toward project procrastination. Well, that and I the fact that man, I really really needed a win to get me out of my "headboard project from hell" funk. (More on that in a later post)
The story of how I came upon this table can be found here. Here's the before:
 |
And (after sanding the table down to the natural wood and applying a dark walnut stain followed by several coats of polyurethane) here is the after:
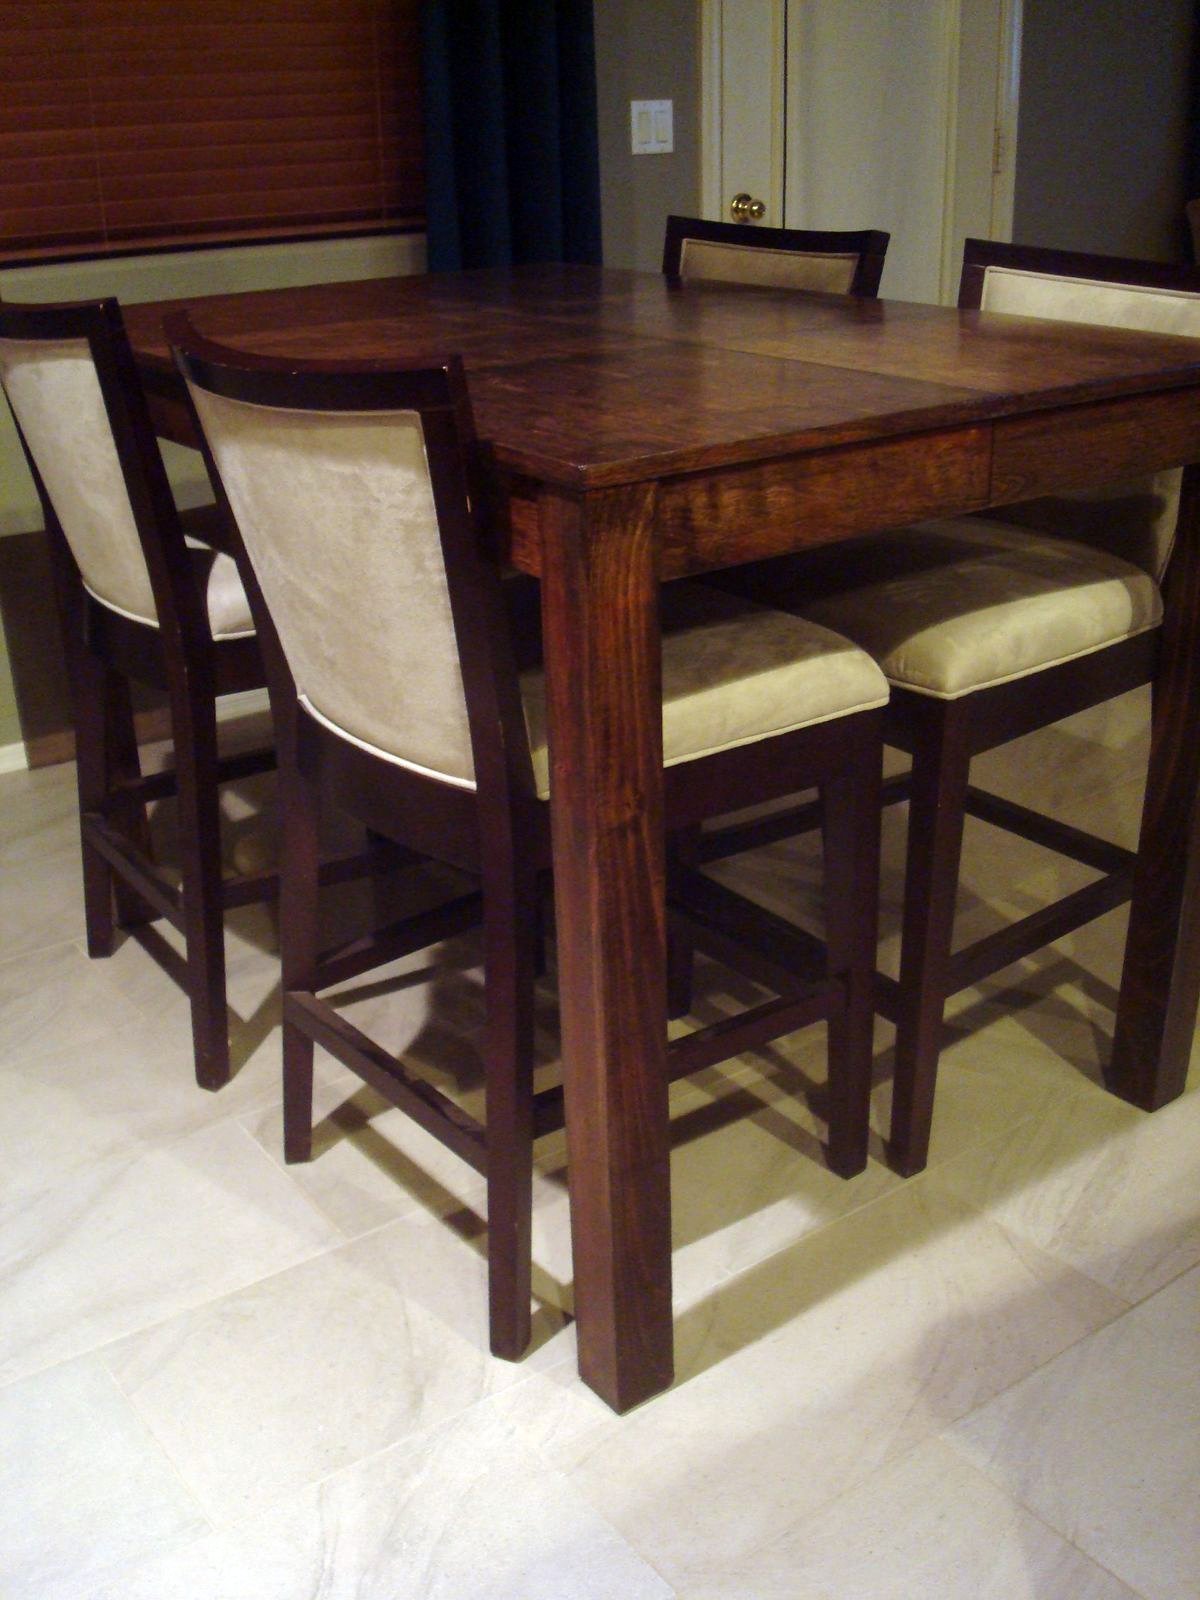
 |
| Sorry about the glare - someone needs to spend a little time learning how to use her camera! |
I absolutely love the tonal variations throughout the entire piece and the richness it brings to our little dining room is making me "got a new puppy" happy. While it's not perfect (I sure wish that coating of polyurethane was smoother!) I am in love with it and can't believe my luck that it turned out so well.
What do you think? Did I make the right decision by staining instead of painting? Anyone out there have any polyurethane application tips they'd like to share with this beginner-refinsher?


Looks fabulous!!! I definitely think the toxic fumes kill brain cells and encourage outrageous braggery. I should know. :)
ReplyDeleteSo, I do have a couple quick tips on polyurethane... for small projects (not this table of course) I love aerosol Varathane Spar Urethane made by Rust-oleum at Home Depot. Goes on easy like spraypaint - what I use on my step stools. For larger projects definitely go with Minwax Wipe On Poly. It's thinner and easily applied with a sponge. Wear gloves!
Wipe-on Poly sounds so much easier than the brush on kind I used. I'm definitely tucking tbat one away for next time around. Thanks for the great tip!
ReplyDeletei think this looks great! everyone always just throws a coat of paint on stuff because it is so much easier then staining! i think it turned out great and the am jealous of the patients you have!
ReplyDeleteI am partial to the natural wood look.Your table is a great find.
ReplyDeleteNever shake the can of poly.
I'm not sure if you brushed on the poly or wiped it on.If you use a brush make sure to make long single strokes.It causes bubbles to brush over more than once.Did you lightly sand and tack cloth after each coat? Good reference here.j
http://www.familyhandyman.com/DIY-Projects/Woodworking/Woodworking-Tips/how-to-apply-polyurethane/Step-By-Step
hey there. Dropped by from Better After...nice table!! I want to say thanks for the tips above as well, as I will be attempting to redo my table in the near future.
ReplyDelete